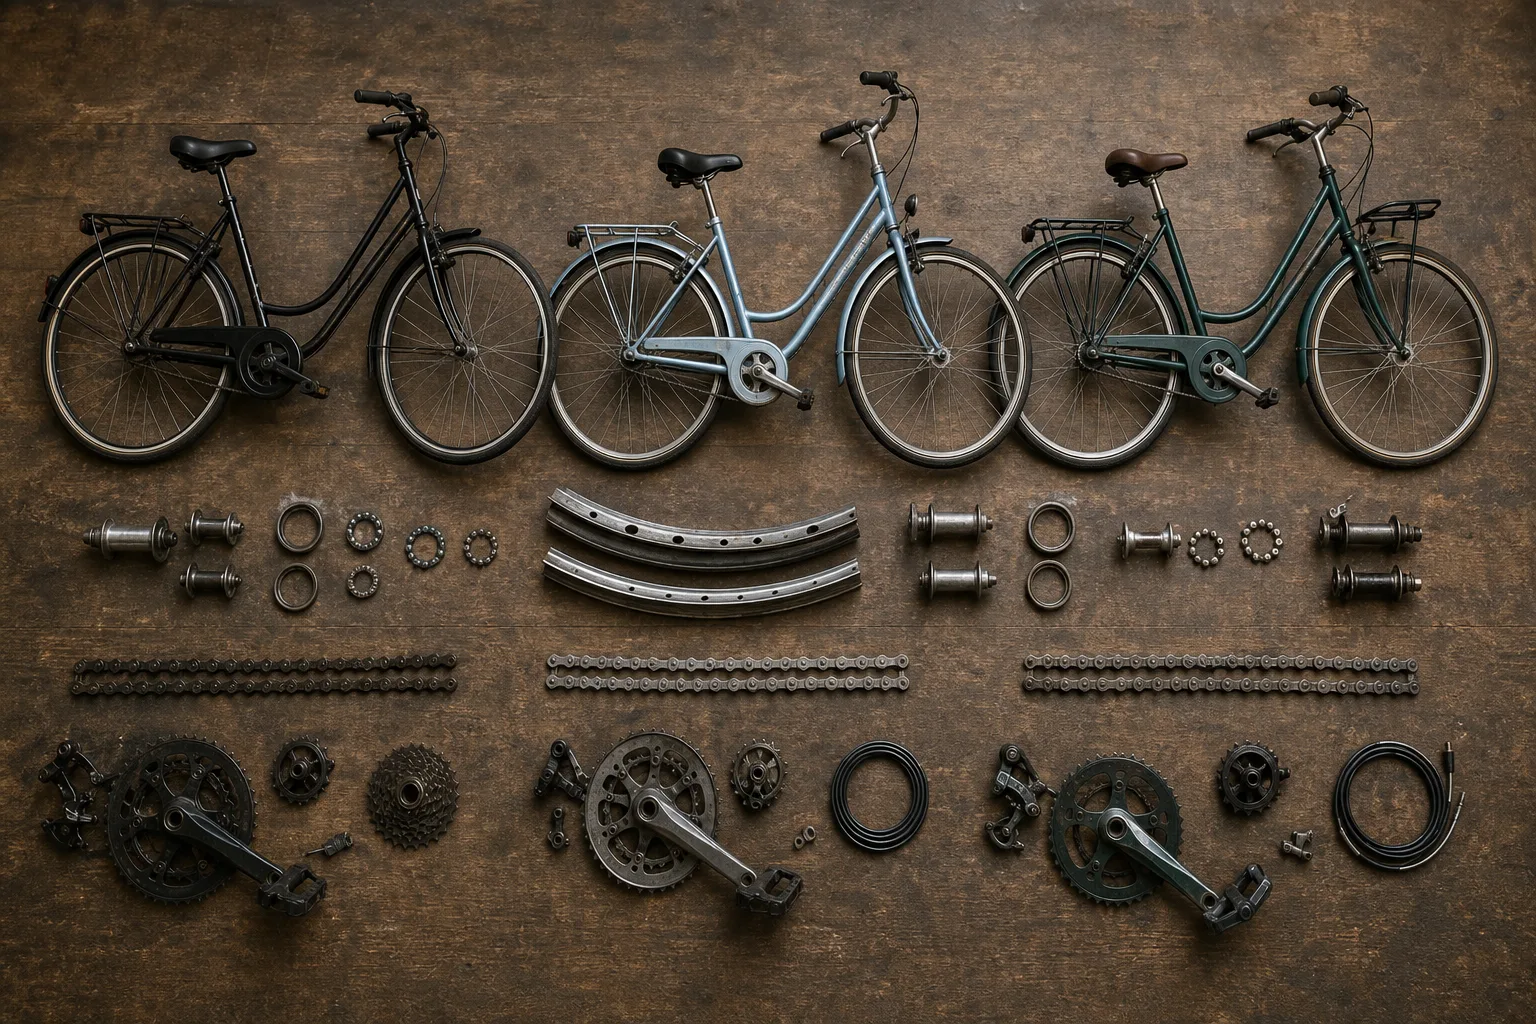
What separates a department-store upright from a shop-built one, what a used bike needs before its first ride, and which parts wear out in the first few thousand miles.
Two bikes can sit side by side, both upright, both with swept-back bars and a rack, and cost three times apart. The difference is almost never visible from ten feet. It lives in the bearings, the wheel build, the pivot points of the brakes, and the hour of labor someone did or did not spend before the bike left the building. A careful reader checks those places first, because they determine what the bike costs to keep rather than what it costs to buy.
1. The department-store band, and what the money is buying
At the bottom of the market you are paying for a frame, a paint job, and parts chosen by weight of order rather than by service life. The steel is usually fine. The trouble is the loose-ball bearings in the hubs, headset and bottom bracket, which arrive packed with very little grease and adjusted by someone working fast. A shop can strip, grease and reset all of that in an afternoon, and the bike then behaves like a considerably more expensive one. Budget for that labor as part of the purchase price, not as a repair.
2. The middle band, where the wheels change first
Move up and the first thing that improves is the wheel: eyeleted rims, stainless spokes, and a build tensioned on a stand rather than by machine alone. That matters more on an errand bike than on anything else, because a rear wheel carrying groceries and a rider over a broken curb cut is the part most likely to go out of true. Sealed cartridge bearings usually appear in this band too, along with brake calipers whose pivots do not seize after one wet winter. The frame is rarely the upgrade. The rotating parts are.
3. Shop-built, and the hour of setup that comes with it
The top band buys parts that stay adjusted, an internally geared hub or a well-set derailleur, a dynamo light wired in, fenders and a rack mounted with the right hardware instead of zip ties. It also buys assembly by someone who checks their own work: torque on the stem bolts, brake pads squared to the rim, cables cut and capped, headset preload set before the stem is tightened. That hour is genuinely worth money. Ask what the shop includes in the first free tune-up, and whether the wheels are retensioned after break-in.
4. A used bike, and the checks before the first errand
Used uprights are the best value in the category and the easiest to get wrong. Check the rims for a concave wear groove or a wear indicator line, because worn rims mean a wheel rebuild and that often costs more than the bike. Spin each wheel and feel the hub for grinding, squeeze the tires for cracked sidewalls, lift the chain off the front ring to see how far it pulls away, and check the brake pads for hardened, glazed rubber. Fresh cables, housing, pads, tires and tubes are the standard revival package, and it is predictable work.
5. What actually wears out in the first few thousand miles
Consumables go first, in a reliable order: brake pads, then tires, then the chain, then cables and housing after a couple of wet seasons. Replace the chain before it stretches badly and the rear cogs will outlive several chains, which is the cheapest maintenance decision available to anyone. Grips and saddle covers wear from use and weather. Bearings, if they were greased properly at the start, tend to outlast all of it. The Consumer Product Safety Commission is responsible for federal safety requirements covering bicycles sold in the United States, and brakes are the part of that list a rider touches most.
The useful way to compare two bikes is to add the purchase price to the setup work each one needs before it is trustworthy, then to the parts it will eat in the first two years. Done that way, the cheap bike and the mid-band bike often land closer together than the tags suggest, and the shop-built one stops looking extravagant. Ask what the bike needs, not just what it costs.